Revision of Price Yard
Price Yard Revision — 2015 – 2016
The revision included a new throat for Price yard and began as described in Rob D's Blog. Bob A revised the scenery beginning in November of 2015. Pictures from Rob D's Blog, with newest at bottom, oldest at top of page. Others are attributed as appropriate.
Rob D's Blog 06 December 2015
The other work discussed was the new throat for price yard, the removal of the curved crossovers and putting in a new crossover up stream of the present location. It was determined that by doing nothing more than changing a couple of gaps and signals the change could be made and the dispatchers panel and detection and signaling system would need no additional work other than the addition of an indication and control mechanism for the new switch.

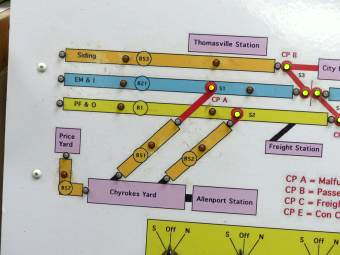
The panel will have the end modified a bit to look somewhat like the panel on the right does in that it will need to show a connection to price yard.
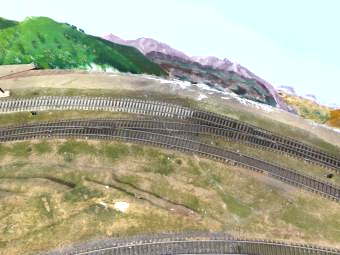

The photo on the left shows the curved crossover that will be removed and the location of a turnout on the outer track that will penetrate the back drop in the area of the green mountain and enter Price yard. The second photo shows the area that will have a crossover added from the rear most track to the next to the rearmost track which will still allow the reversing section and the ability to enter the main yard with out backing depending on train length, I have run some that would not fit.
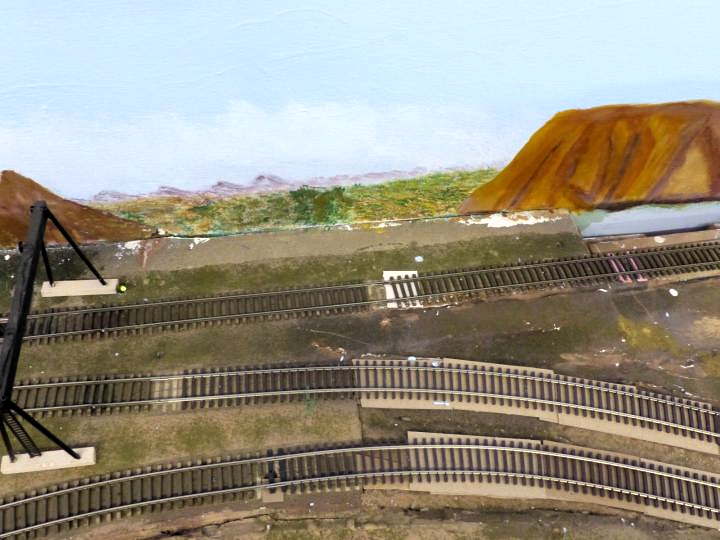
Above is a close up of the location for the new crossover which will be to the right of the new turnout that enters price yard. Normal direction of travel is from right to left on the rear track and left to right on the next to the rear track.
Also in the photo is a local landmark I named bunt cake mountain which allows for a nice transition to an after lunch visit from Bob E. He is doing well and did not appear to be under the influence of pain meds today. He mentioned that he was planning on repainting the back drop area after the open house and that should work out with the installation of the new track as well.
Webmaster comment — In the end the curved crossover was not moved.
Rob D's Blog 12 June 2016
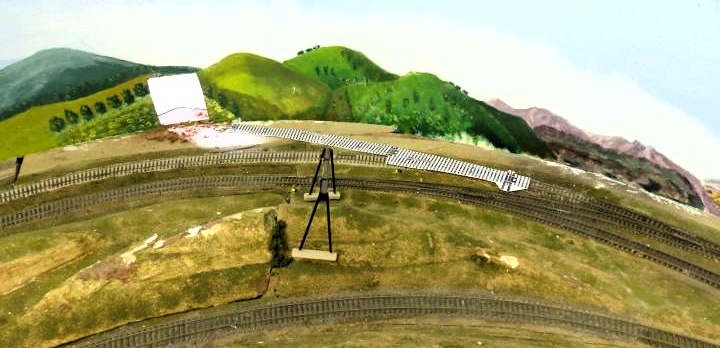
Above and below some planning aids and a small hole through the back drop to make price yard a through yard.

This photo shows the back side of the place and one of several options being discussed.
Rob D's Blog 26 June 2016
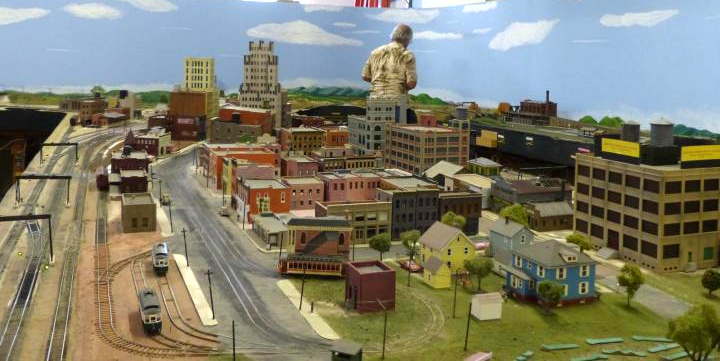
Bob A is part of the hole in the wall gang.

Here we see the beginning of the hole in the wall and some of the tools used in the construction process. We will be enlarging the hole a few more times as we go. This is one of those times where we cut and fit and cut and fit till we get what we want.
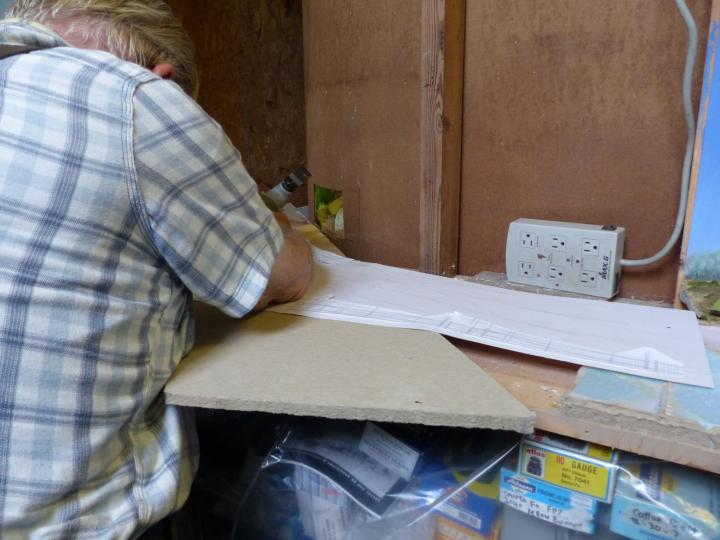
Bob T and myself working on the new entry and connection to price yard after lunch. The hole in the wall continued to get larger as things progressed. We also decided to do something similar to the Toma idea. We will be cutting and fitting some homasote sections together to lay our tracks on and once we get the pieces positioned we will attach them to a piece of 1/4 inch plywood to tie them all together. We will then shim as appropriate to allow a nice smooth transition from the existing layout into price yard.
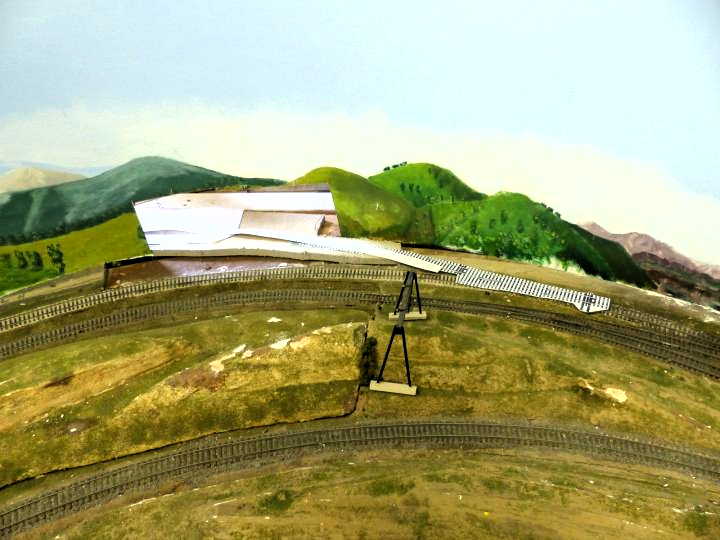
Now we think we have the hole large enough to provide adequate clearance for the trains at this point but there will be additional testing that will take place after the track is built and installed. We have some photocopied templates of track used to check the radius and fit in a very general way.
Rob D's Blog 26 June 2016-A
Speaking of the construction of staging at Price Yard. We are adopting something similar to the Toma Idea. Bob T likes building switches on homasote at the work table. We needed several switches constructed and these will be built at the work bench on different pieces that will be joined together and installed as a unit.

Here we can see the hole in the wall and some of the road bed fitted together. There are three pieces that fit together like an oversize jigsaw puzzle. They are irregular in nature as the joints will be in between the turnouts. It will also allow more than one individual to be working on turnouts at a time. It will also make the section easier to work on.

Now I have zoomed in on this to show something I picked up from the new yankee workshop years ago. Norm Abrams was always sharing a trick or two with every project and one of these was called a witness mark as I remember it. When fitting parts together it is always nice to be able to repeat the alignment. While the parts were in place in the required positions pencil marks were made across the joints that will line up when things are properly oriented.
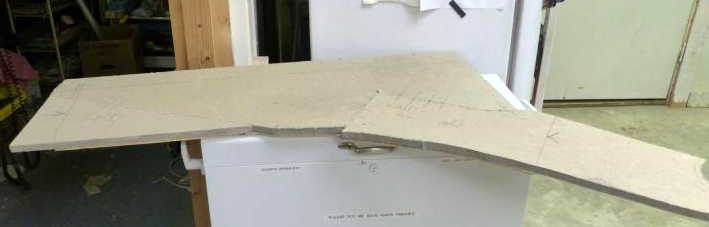
Here we have the road bed side up on the new addition to the layout. Below we have the underside of the section showing how it is joined and can be taken apart by removing some screws. They are likely to only be removed a few times.

Now lets cover the process of how the club got to this point. Lots of discussion took place on adding to the existing layout and using Price yard as a staging or fiddle yard. It was also discovered that for open houses by using a run through the mainline could be lengthened and the mainline trains could also run through the peninsula that holds the main yard on the layout. By doing so trains would be seen on every part of the layout in motion during the open houses. We could also have 3 trains ready to go in Price yard in addition to one on the outer main line.
Rob D's Blog 03 July 2016

Here we see the Gandy Dancers from left to right Bob A, Bob T, Tom M, and Leroy. My involvement was to get the top side creeper out from under the layout and put it in a useable position. The device is the property of Tom B and it is a wonderful aid for getting to those hard to reach places. Right now track is being cut so as to install the first turnout going into the new price yard addition. Adding bi-directional staging should be a real plus for the layout. Tom B mentioned he would like to add more than the tracks we are putting in and I concur.
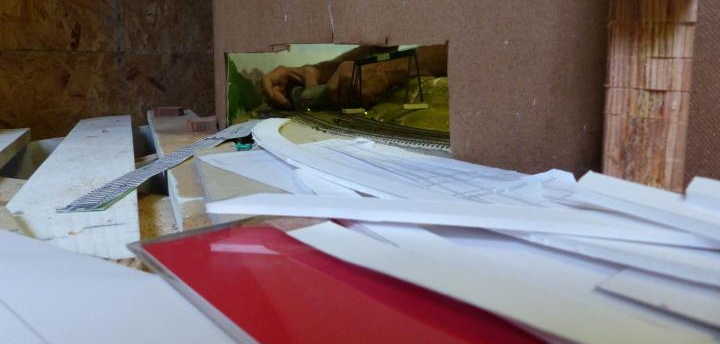
In this photo we can see bobs hands as he works to cut in the new switch.
Rob D's Blog 09 July 2016
Bob was working on his track boards and according to him switches will be being built as early as next week.

In the photo above you can see the slide switches that will do double duty as frog power and throw mechanisms for the turnouts.
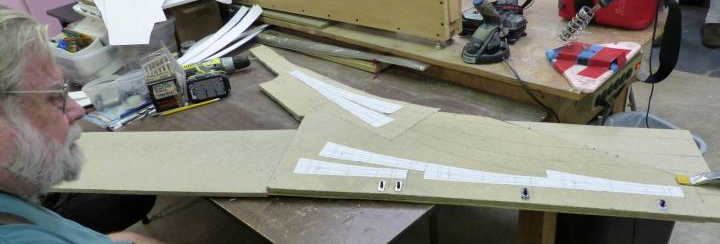
One can see in this photo what it will look like when it is dropped into the existing layout. The sections are designed this way so as to allow for multiple individuals to work on the switch building process. Guys that have not built turnouts yet will be given a chance to do so either via the templates or the fast track jigs and thereby learn a new skill. This is one of the advantages of having old guys in the club. Skills that have in many cases become rare or at least uncommon can be shared and passed on to the next guys in the line.
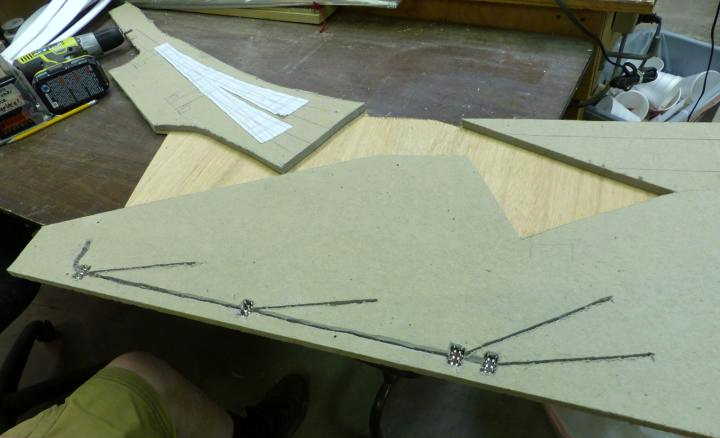
this is the bottom of one of the sections and the groves are for electrical wires to connect to the frogs from the slide switches as well as a place to run track power to the switches.
Rob D's Blog 16 July 2016
Bob T sent a photo to me via e-mail.

Now from the great videos on the fast tracks site it looks pretty easy to recognize these tie strips. Bob looks to be innovating though. Instead of building several turn outs via the jigs and joining them later, he has placed the tie strips and is covering them with rail. The motivation might be fewer joints in the rail, or just because he can. He might also be wanting to spike all the ties with his 4 spikes per tie detail. I will ask when I see him again or via my next electronic communication. Webmaster comment — Fewer joints.
Rob D's Blog 05 September 2016

Bob T is working on the new addition to the ho layout that will make price yard a run through yard and allow trains to run over the yard peninsula for open houses. This will give us some staging for trains that will not be in a working yard, I never under stood the logic behind staging in a working yard.
There was a visit sometime today by Bob T and some work done on the new section of track for the layout.
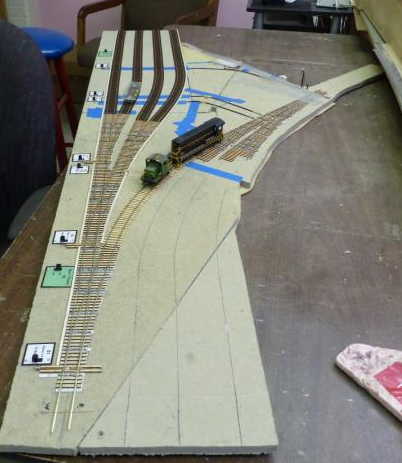
In the photo above the four tracks at the top of the photo can hold locomotives and cabooses. The track curving to the right that has the two locomotives on it will become the mainline. The three tracks to the right of the locomotives will become staging tracks for trains that have gone to an off layout destination. The tracks will connect to the existing tracks in price yard making it double ended.
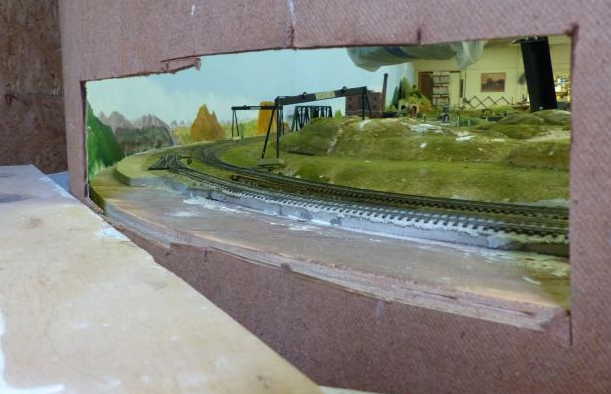
The turnout in the distance will be the point that the existing layout connects to the track curving to the right in the photo that is directly above this photo.
Rob D's Blog 19 September 2016
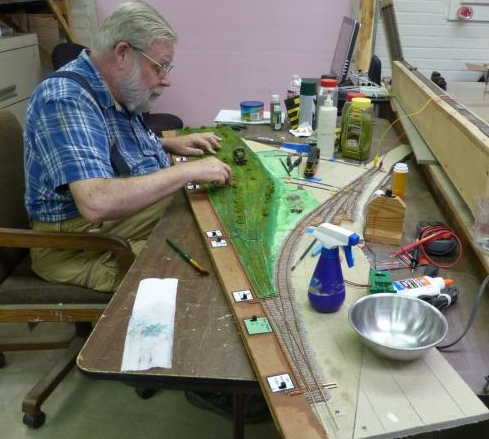
Bob T is seen here working on the new section for the layout that will allow Price yard to become a through yard and allow trains to run from the bottom of the grade after crossing the bird river bridge through price yard and around the classification yard during open houses. This will increase the trains run when we are doing display running and allow the trolley line to run to Rosco with only contending with one active track crossing instead of two. One individual has commented that my giant coal trains destroy his schedule because it takes so long for them to pass.
Rob D's Blog 15 October 2016
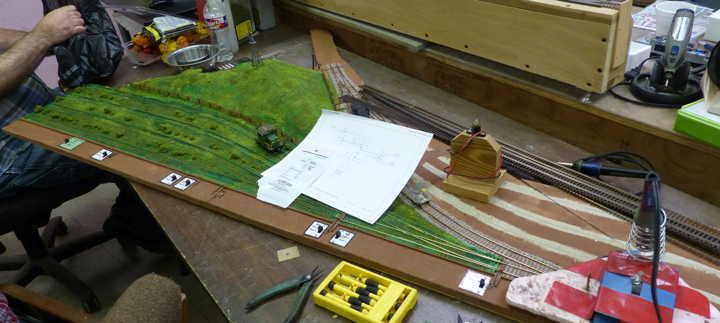
Bob has completed the work on the new layout section and told me it is ready to be installed on the layout. Hint Hint. Some discussion ensued and after listening to the different view points decided to fit it in place and see how much shimming and where needed to take place. Along the forward edge a section of 3/4 inch plywood was added and shims placed between that and the shelf below to get the layout section trimmed out to fit and have gentle transitions and grades.
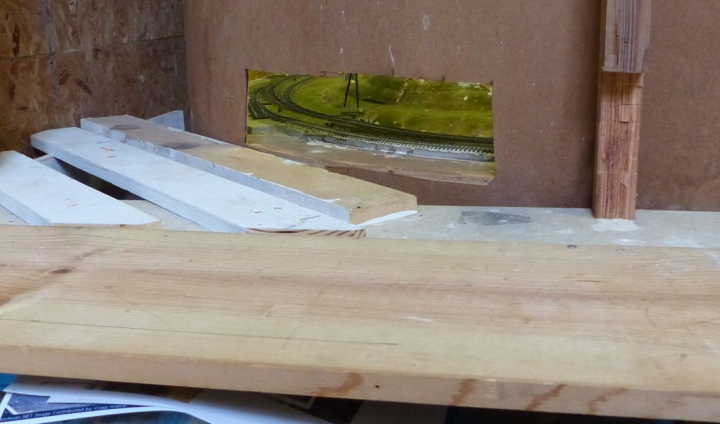
Here is the location that will be it's new home.

A slightly different perspective of the before scene of where the new section will be installed.

Here is a different angle and slightly different view. After some more of the scene is filled in the tracks will get installed to join it with the rest of the layout.
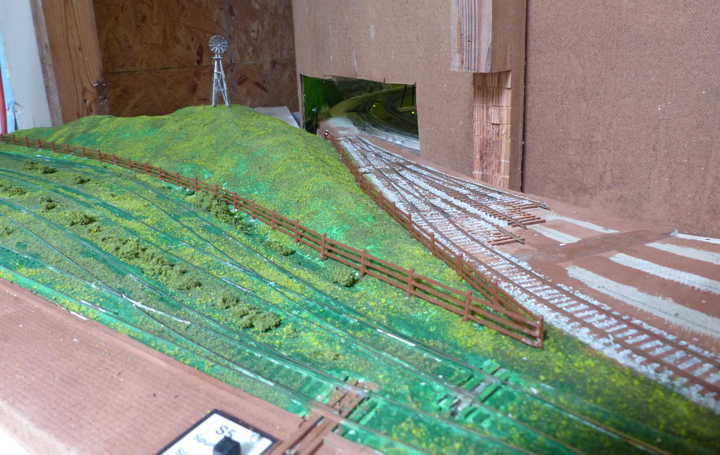
Now the hidden side of of the back drop.
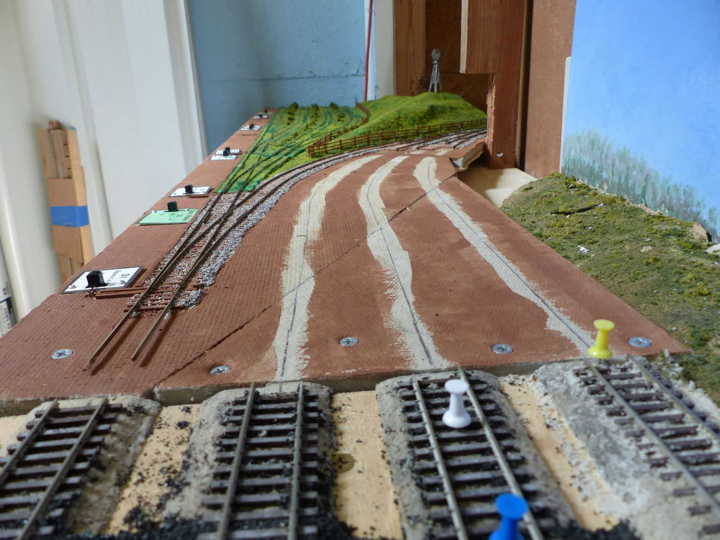
Here you can see how nice things line up more later.
Rob D's Blog 04 December 2016

Above and Below are a couple photos of some scenery work done by Tom M to hide the hole in the skyboard.
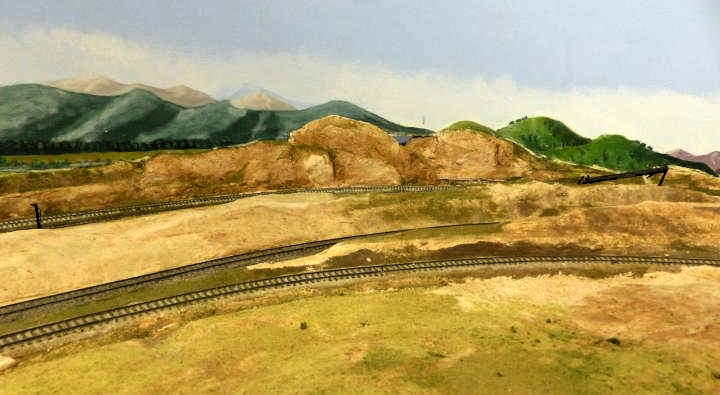
The effect looks good to me, and is much better in person than in the photos. There is still more work to be done but the area is progressing nicely.
Time to return to the main Price Yard page.