ETMRC HO Scale Layout
Turntable Installation
Following Rob's Blog of 14 February 2016 work started on adding a turntable. A year later the hole was enlarged and a longer turntable was installed.
Rob D's Blog 21 February 2016
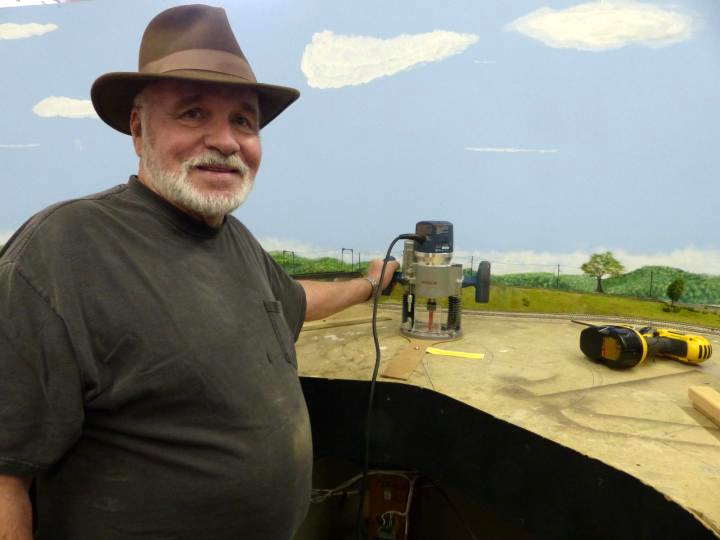
My able assistant for the day Bob E the hardware king himself. We will have more fun with this gag as the day goes on. The project for today is to cut a hole in some bench work that has been waiting for this event since before both Bob and myself were members of the club. After the hole is cut a turntable will be placed into said hole and will await the follow on efforts of others to wire and motorize said turntable. Now before any folks that have not been following this for a while think this is mean spirited it is not we all have fun with each other and I have been the victim of gags as well. The neat thing about it is we all enjoy the joke no matter who is the subject.
Now there is some work that needs to be done under the layout as well as above before cutting a hole with a circle cutting jig and a big router with a bit that can cut deeper than 2 inches.

Now we have a message from our sponsor and we can see that we use the big shiny round head screw as a pivot point. But in addition to carefully positioning the rig for cutting we need to do some additional work. The bottom of the disk that will be removed must be supported so it will not fall out of the hole while being cut. Not doing so could cause the loss of control of a powerful cutting instrument that is capable of doing serious damage to both property and persons. A good rule to remember is to think before doing and not get into a hurry. It also helps to think about the reactions that will happen in response to your actions.
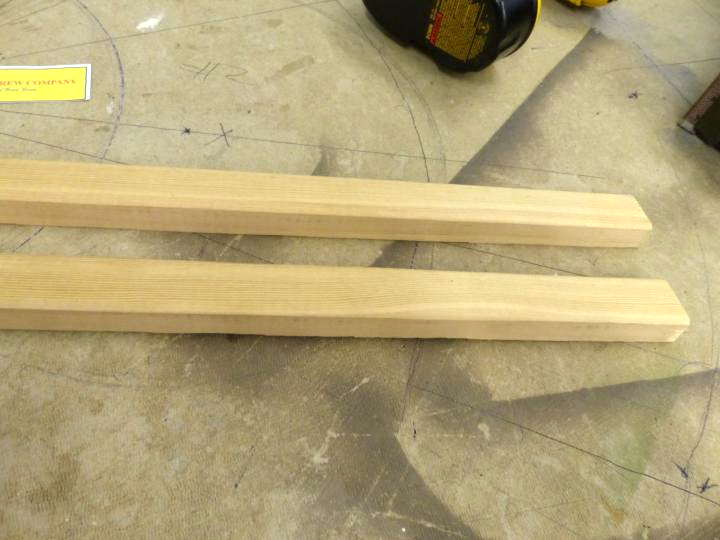
The two pieces of wood will be installed under the layout and screwed to the bottom of the bench work to support the portion being removed and to help stabilize the tool while this is happening. Do not have a person hold the items from below while cutting the hole. A tool that will remove wood will also remove fingers! Also high speed carbide bits do not react well when hitting screws nails and bolts. Make sure no items that are not designed to be cut by the tool in use will be engaged by it. We spent extra time to insure we would not be hitting anything that we did not want to prior to powering up the tool.

A very good look around was had at the bottom of the layout before cutting and in any areas that could not be seen well they were examined by touch rather completely. As can be seen there are lots of things to examine and make sure that they are not going to be damaged.
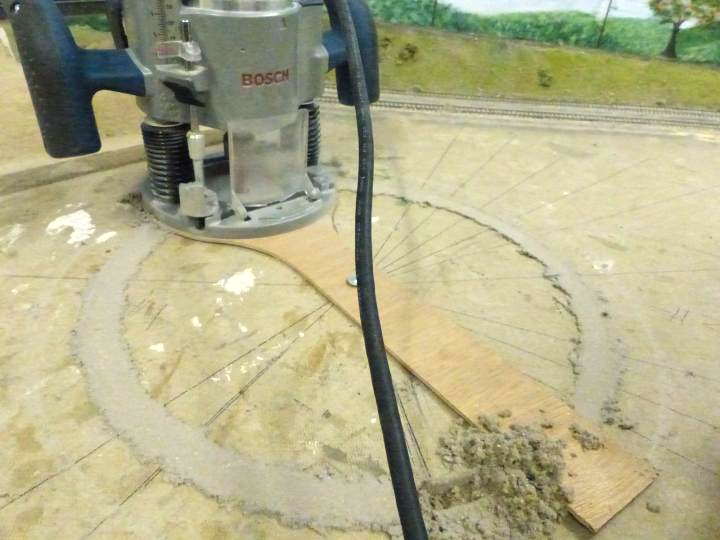
Here we have an in progress shot of the operation. Because of the prep work it is rather anti-climatic and that is a good thing with power tools. One thing we did is error on the small side with the idea that we could sand the hole bigger but making it smaller would be difficult!
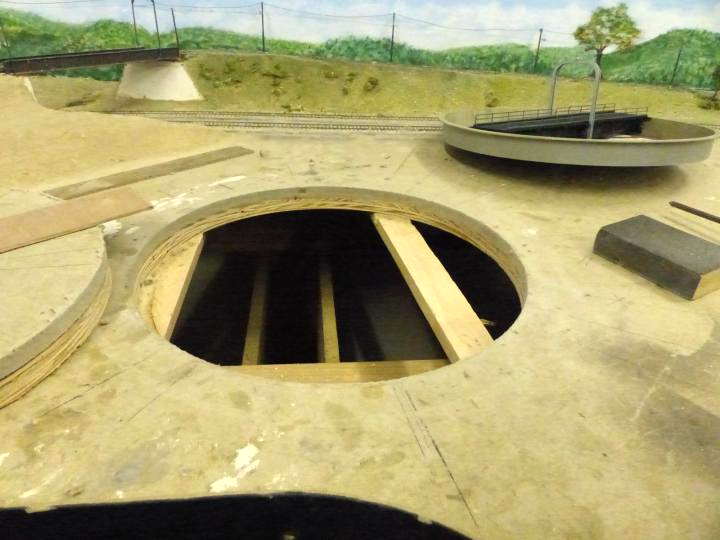
In this photo we have the plug with our cutting rig still attached on the left, the hole in the middle with our supports underneath still attached, and to the right the turntable that will live in the hole.

I posted this so folks could see the rig I used for this project. It is a Plunge Router with a home made jig attached to the base. The item that makes it a plunge router is the special base that allows it to have quick adjustments via the steps one sees on the near part of the tool. This allows multiple passes to be made with out repositioning the tool to the work. The steps are rotated and the depth is plunged and more material is removed with each pass.
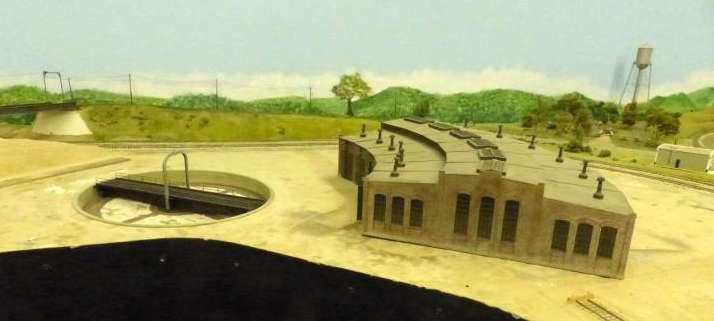
Later in the afternoon the turntable fits in the hole and the round house has been placed in it's approximate position. The Roundhouse and approach tracks will be tuned a bit so they line up the way they should.
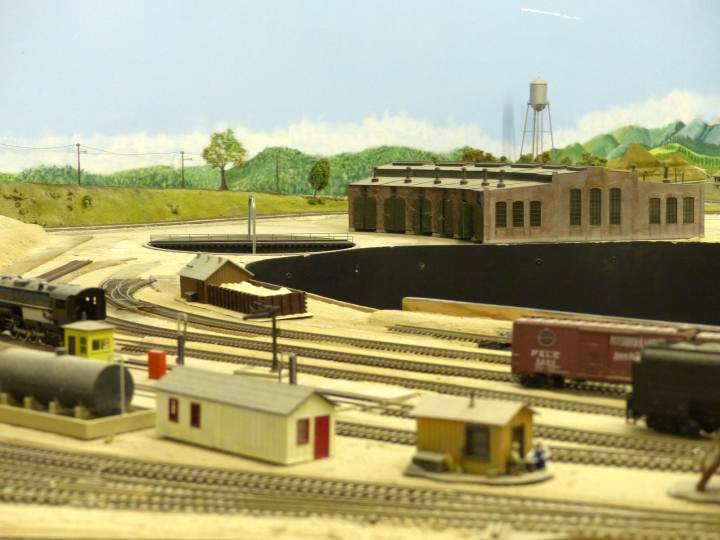
Next the track gang will likely need to get to work. Now while this was going on some other things were happening as well.
Rob D's Blog 08 January 2017
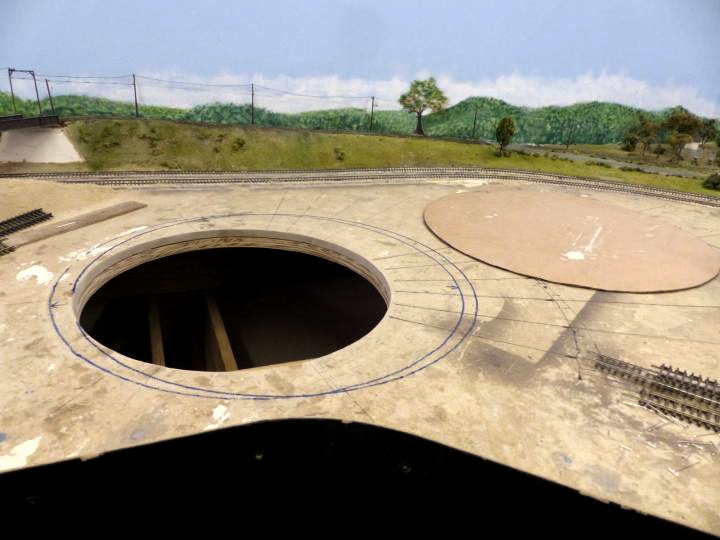
Once in a while though something comes up that strikes a nerve with someone and they become somewhat passionate in their response. This was one such item. We have had a piece of cardboard laying in front of a round house with no tracks installed since I was a member. Sometime in the recent past it was decided to install the turntable the club has had for a long time but never installed. The pit and the bridge looked great the roundhouse looked good as well. We needed a hole that would be rather precise. I used a router and cut a nice circular hole and sanded it till a very good fit was made.
Now comes the rub. That nice looking but short turntable was not large enough for any of my steam except for maybe some USRA 2-8-2s with short tenders. So I was a bit disappointed with the choice to run dinky steam but I could still run my engines and get coal and water even if they could not move the bridge if they were on it. This is the reason I was building a new larger coal tower for the layout. It seems the one we had would have nothing but dust inside after 4 Texas types filled their 30 ton bunkers. It would seem that a tower should be capable of fueling engines with out needing to be replenished so often. A larger tower seemed appropriate.
Now back to the hole in the layout. It seems the small table had issues with drive mechanism and Ron felt it would not handle heavy locomotives with out failing. Tom M donated a 130 foot modern turntable since he had one more than was required on his layout. The discussion centered on cutting a new hole to fit the new table. The guys wanted me to do it so they could proceed.
Now Tom B went into great detail about how these big locomotives and massive turntables were too big for our layout and surrounding towns. There is still likely to be discussion on the subject next month when it comes up again. I can think of towns that did not have a building over three stories that was not owned by a railroad that handled giant size locomotives. So the discussion will come up again.
Rob D's Blog 02 April 2017
Update with photos – Tom M and I made the hole in the bench work bigger and got the new 130 foot turntable pit into the bench work.
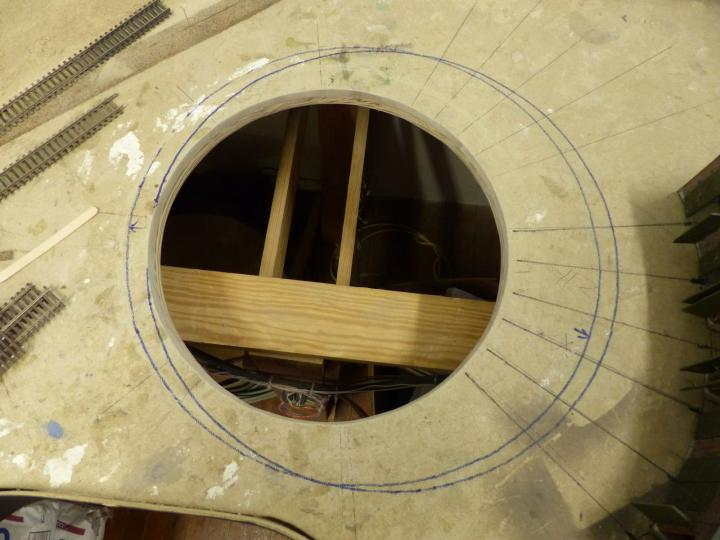
Here is the previous hole that was made for a turntable that was unable to be repaired in a manner that was deemed acceptable. We now had a hole and nothing that would function to put inside it. Tom M donated a 130 foot table, he had more than one and did not think he would use more than one on his next railroad.
Fortunately I saved the center portion and was able to slip it back in and attach it to the bench work. The filling of the hole was important so I could use my circle cutting jig and my 2 1/4 horse router to cut the hole. This time I padded my dimensions by a wee bit so the hole would allow some play for the pit.
We also discovered that neither of the holes outlined for the turntable were in the correct location. I wanted to make sure I was not going to cut into any hidden fasteners or have a support in the way. So with some more adjustment things were prepared and work was begun.

Jared snapped a photo with his phone of Tom M on the layout with the shop vac and me with the router. I am adjusting the plunge depth and getting ready for the next pass. With the plastic and the vac we were able to prevent lots of stuff from getting stuck on the layout.
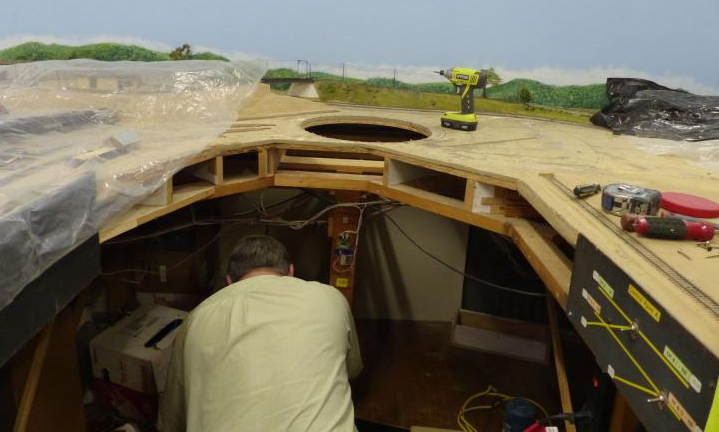
This photo shows several things, Tom cleaning underneath the layout, and the fascia removed so that additional screws can be eliminated from contact with a high speed rotating blade. It is important to check from all sides as well as top and bottom and between layers of material!
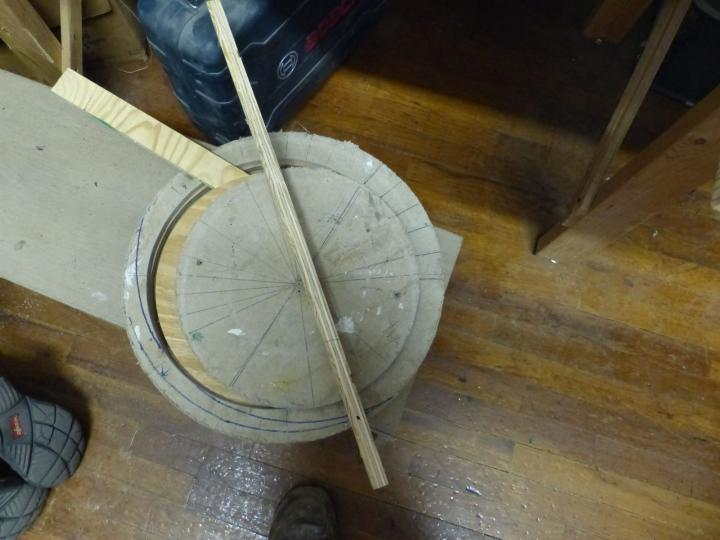
The old center section and the section that was removed for the new turntable. The sticks were used to hold everything into alignment while the hole was made.

Oh look it fits just fine, we finished and cleaned up the mess and I tried the bridge for the table.

Interestingly one member thinks this is too big for our layout. He claims it dwarfs the town. There was lots of discussion about this. What do you think about the size? Keep in mind there are large articulated steam locomotives on this layout, 2 8 8 4s, 2 6 6 6s, 4 8 8 4s, as well as some large rigid wheel base locomotives like 2 10 4s and 2 10 2s.

Here is a view of the turntable from in front of the city, I had to stand on a bench to see it from this perspective. I am a little more bothered by the roof top parking on the post office.
Rob D's Blog 27 August 2017
Bob T said Rob we need some photos of this.
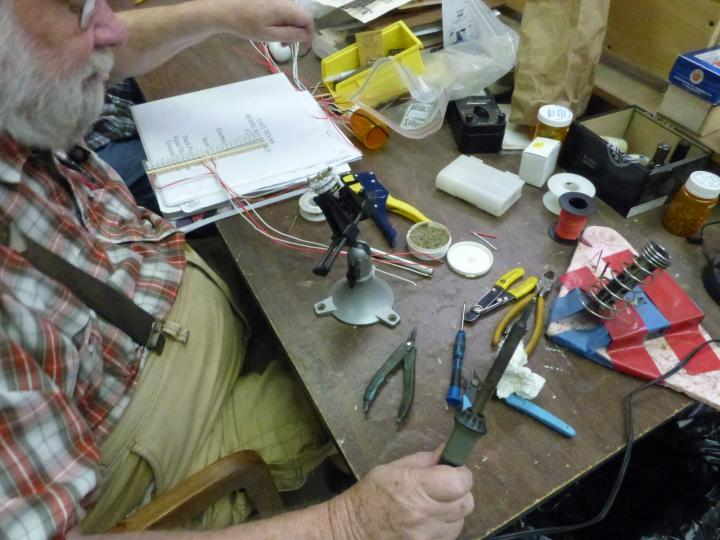
Bob is wiring up a switch to control track power in the roundhouse and I believe open stall tracks as well.
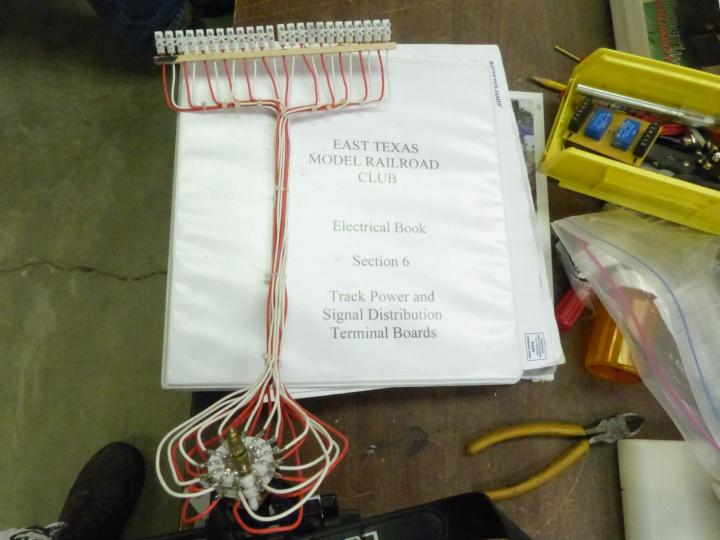
Now we also had some home made quick connects, or semi quick connects since we are using screw terminals. Switch is wired and the semi quick connect ready.

Here it can be seen in a demonstration of the semi quick connect aspect of the operation. The book in the photo is part of the club wiring books. Yes, I said Books, section 6 is actually volume 6 or book 6. I am not sure how many there are at this point but there may be more than ten volumes to this set. The books include diagrams, descriptions and lots of photographs. The idea being that trouble shooting will be something that can be done by someone with out a degree in electrical engineering.
At this time Bob said he needed me (the carpentry club) to build something for him. He wanted a control panel to hold the turntable control, and the rotary selector to be mounted on the layout.
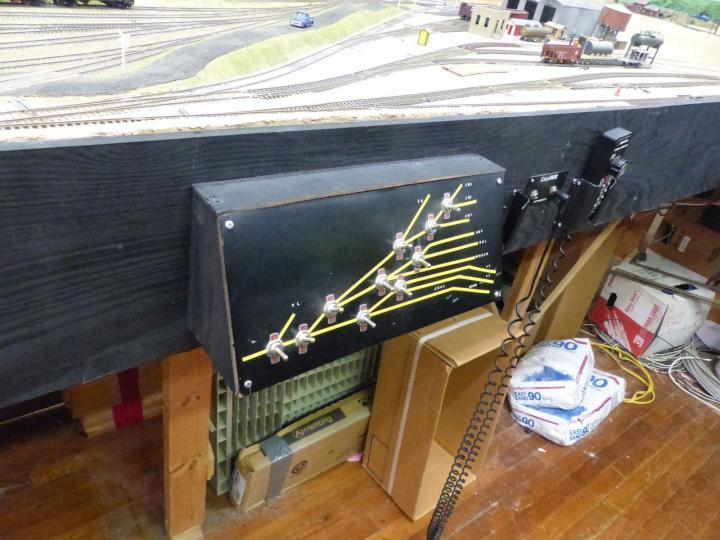
It was requested that I design and build it to look like these that were already on the layout. I was given this request a bit before lunch. Bob said he was ready for it.

The new panel needs to hold the rotary switch with some room to label the tracks and hold the rotary control. It also needs to have an easily removable front for service and mount to an existing fascia that was not set up for a panel at this point. It also needs to be less than 7 inches in width. Oh and did I mention that the guys need it now? Above is the place it will go and the turntable panel is to the right, it will need to be removed and installed in the new panel.
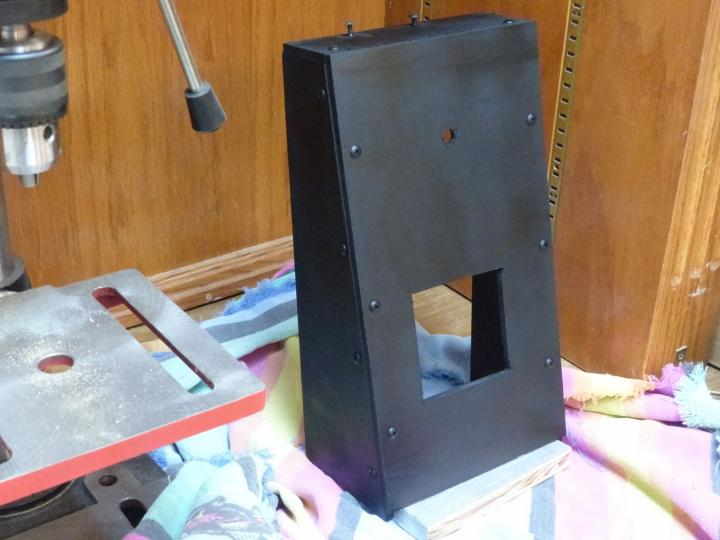
After lunch the unit was painted. It was made from scrap pieces of material. The underlayment plywood I used for the box is a bit thick to allow the turntable controller wires to plug in with out cutting a channel into the back for clearance to fit the plug. A wee bit of work with a wood chisel removed the material and everything fits fine.
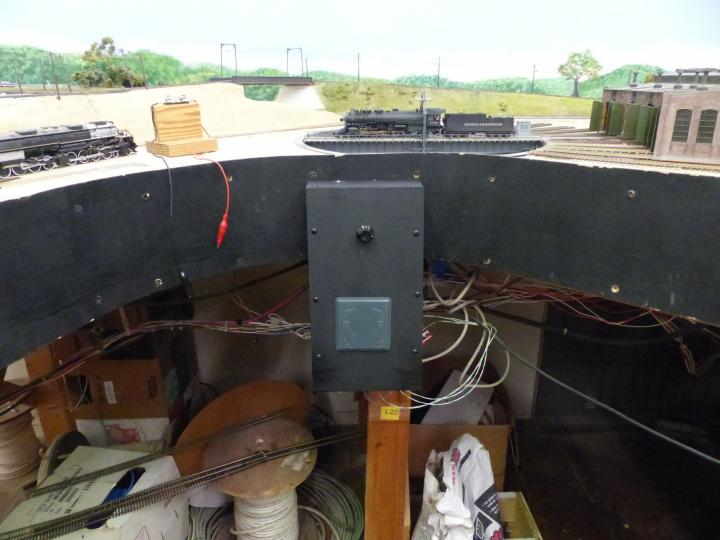
Here it is installed on the layout waiting for Bob and the rest of the guys to fool with it some more, not bad for a couple of hours work. Remember there needed to be room between the components for a bunch of wire and large plug in connectors to the various items.
Rob D's Blog 10 September 2017
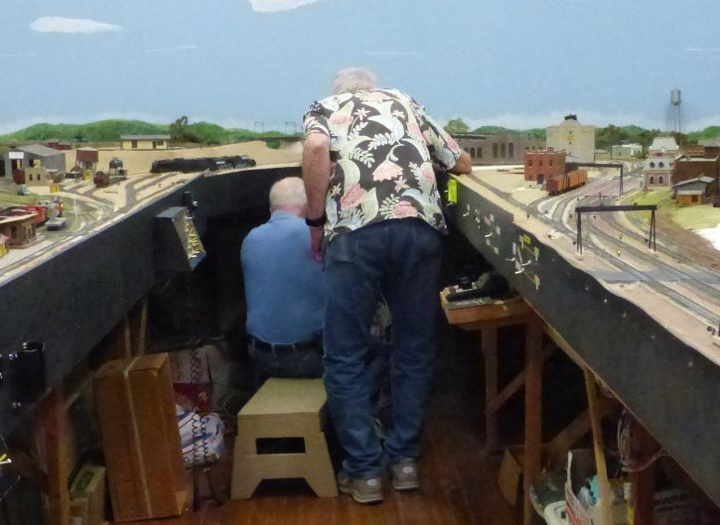
George W standing and Ron sitting working on the turn table controls.

Ron is mad at one set of wires that will not seem to stay under the screw terminal when he tightens the screw. Determination won in the end.
Rob D's Blog 17 September 2017

Ron and George W have been working on the turn table programing. For much of the day it was not retaining the program. It seems at the end of the day they were successful.